
Ah, yes, the good stuff – sensor values via IOT.
I really like i2c sensors and devices, and there really are many to choose from. This said, you can’t just slap any combination of devices onto the i2c SCL/SDA lines and expect it to work without problem. Put slightly differently:

We’ll use a simplish sensor, a combined humidity and temperature sensor, the AHT10. I tried to run an OLED and an AHT10 on the i2c lines, and both jammed up. It really is times like this that I wish I had an oscilloscope to dig in and see what’s going on. (Of course…like…certain people could help change that. Nudge, nudge, wink wink…)
So best for now that you just get the sensor and the NodeMCU working together before we add OLEDs. I suspect its a voltage sag on the SCL/SDA lines, needing pullup resistors. I’m tired and lazy.
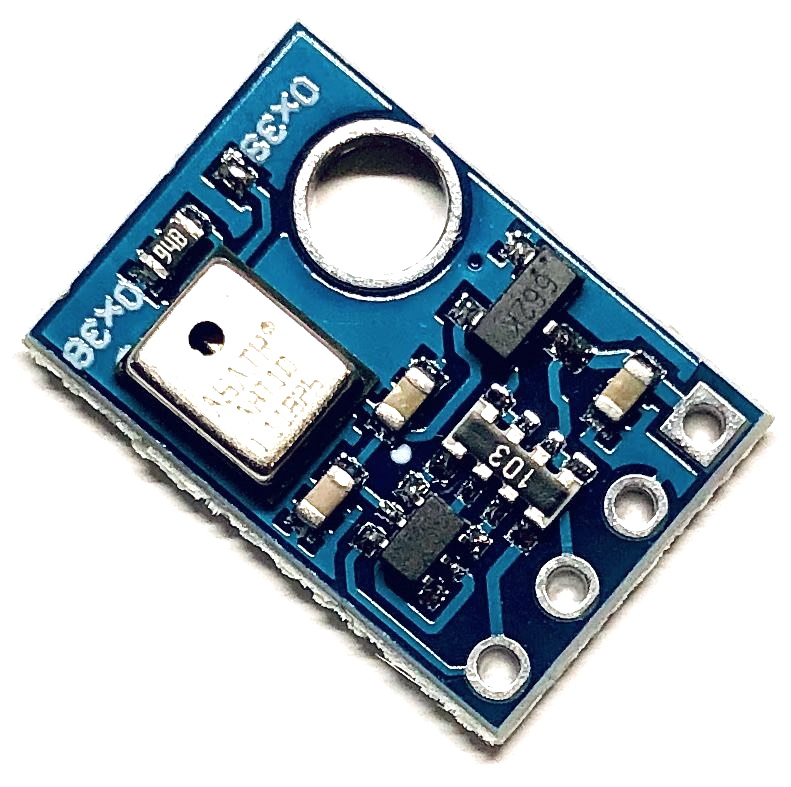
Anyway, here is a picture of an AHT10. Because content.
To begin, install the necessary library, specifically the Adafruit “AHTX0” package (you might also get warnings for other libraries missing, likely “Adafruit IO“, and “Adafruit Unified Sensors“: install as needed.)


Connect the circuit as so. Just like so. Exactly as show here. Did you connect it just so? Good. Now check again. Properly. Because you are stupid, and so am I – here I sit at a coffee shop after tEacHiNg a class of 8 about this stuff, and still: Lo and behold, I connected it wrong and turned a temperature sensor into a small and very inefficient heater.
Luckily both AHT10 and NodeMCU are made of tougher stuff that can survive long enough for me to smell that all is not well with the state of Denmark.
I think it was Shakespeare who said something like that.
Or was it Qinshihuang? No it wasn’t him. But he did say something that is very pertinent to this:

To test, upload the following test code:
#include <Adafruit_AHTX0.h>
Adafruit_AHTX0 aht;

void setup() {
  Serial.begin(115200);
  aht.begin();
}

void loop() {
  sensors_event_t humidity, temp;
  aht.getEvent(&humidity, &temp);
  Serial.print("Temperature: ");
  Serial.print(temp.temperature);
  Serial.println("*C");
  Serial.print("Humidity: ");
  Serial.print(humidity.relative_humidity);
  Serial.println("%rH");

  delay(500);
}
Open your serial terminal, switch baud rate to 115200, and you should see some good sensor values:

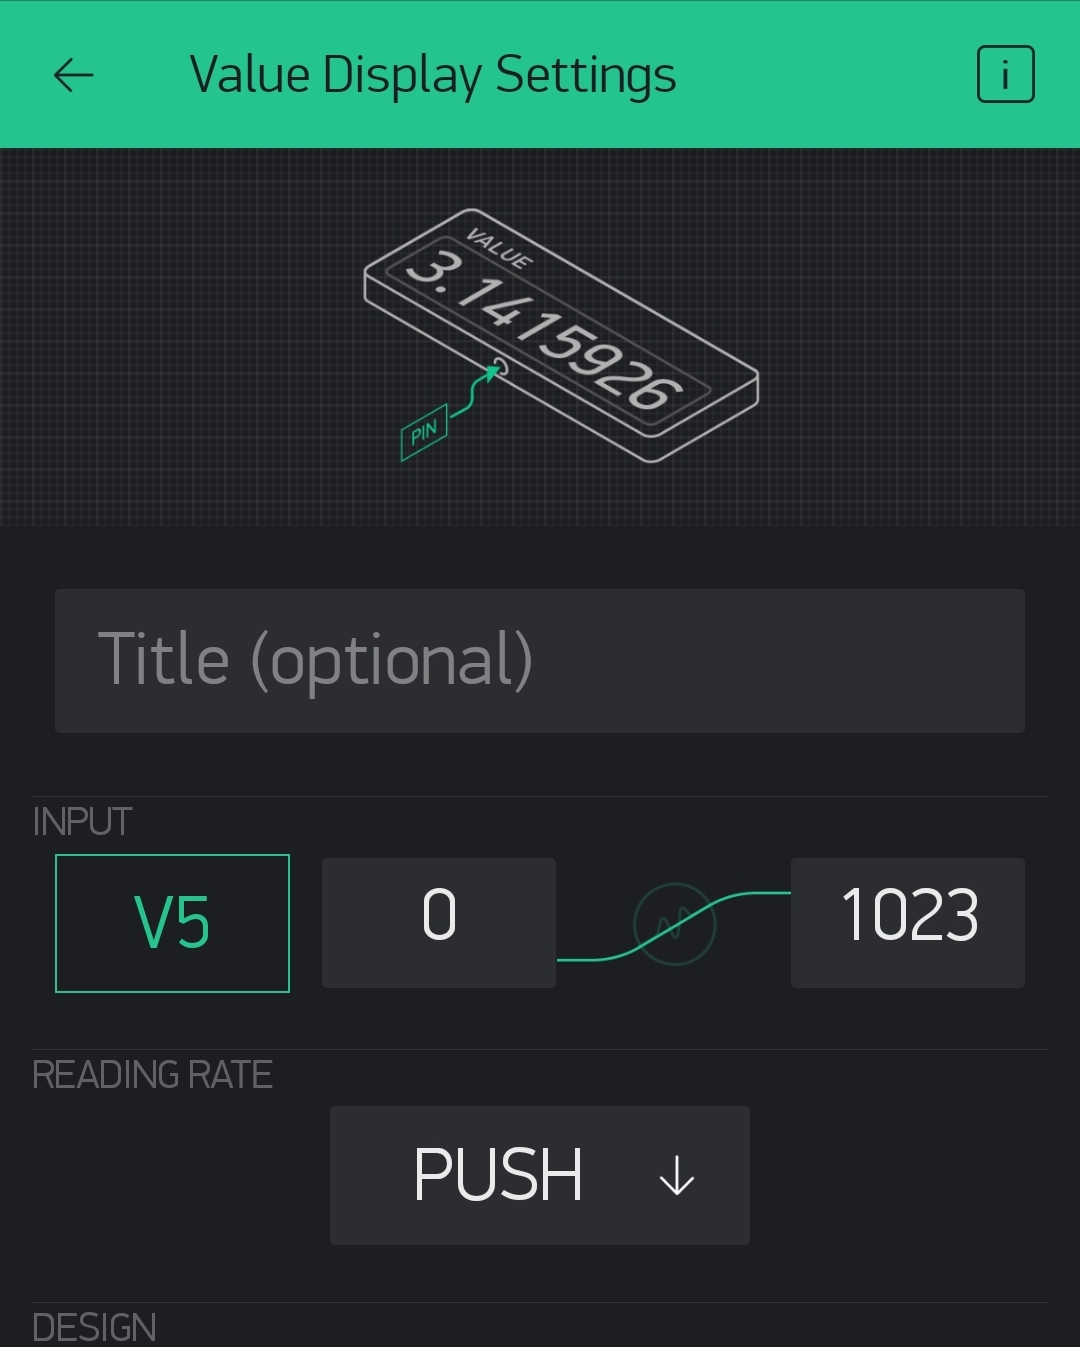
Next, let’s add this code to in your Blynk project, add two value displays

#include <ESP8266WiFi.h>
#include <BlynkSimpleEsp8266.h>

#include <Adafruit_AHTX0.h>
Adafruit_AHTX0 aht;

//fill in this info with wifi ssid, password, and blynk auth. code
char auth[] = "xxxxx";
char ssid[] = "xxxxx";
char pass[] = "xxxxx";

BlynkTimer timer;

void setup()
{
  aht.begin();
  Blynk.begin(auth, ssid, pass);

  // Setup a function to be called every second
  timer.setInterval(1000L, sendSensor);
}

void loop()
{
  Blynk.run();
  timer.run();
}

void sendSensor()
{
  sensors_event_t humidity, temp;
  aht.getEvent(&humidity, &temp);

  //don't send more that 10 values per second.
  Blynk.virtualWrite(V5, temp.temperature);
  Blynk.virtualWrite(V6, humidity.relative_humidity);
}
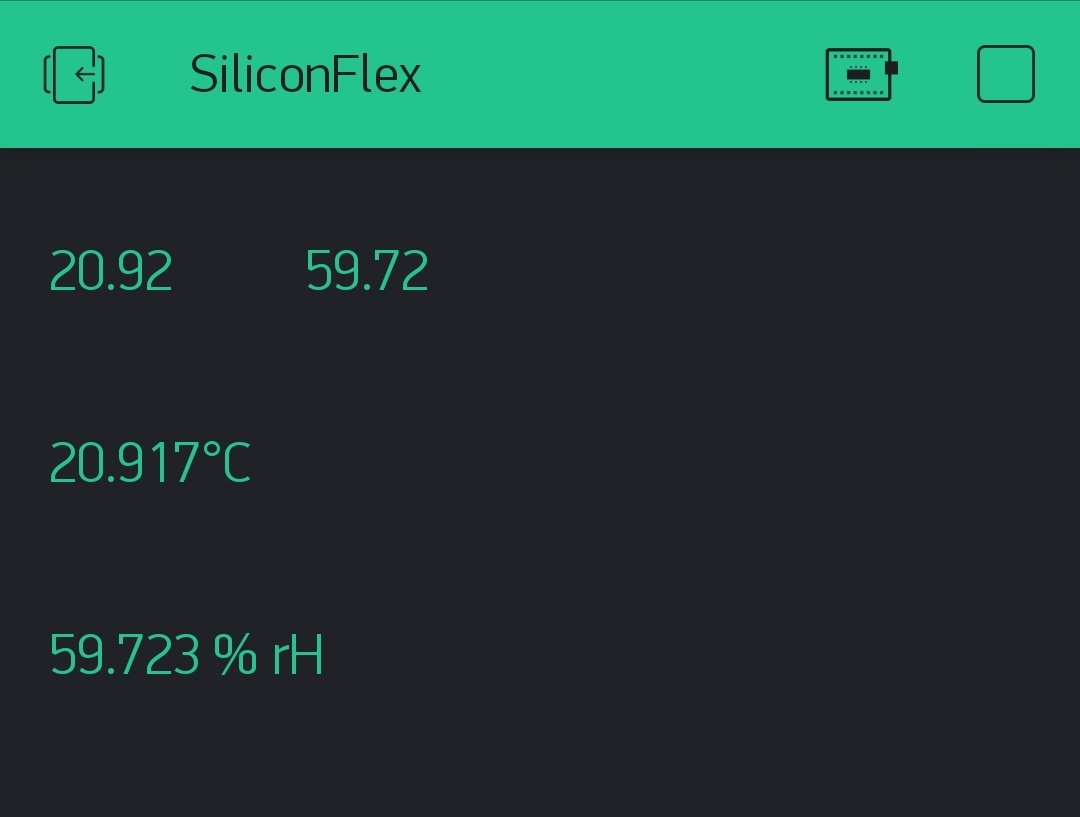
Noice.
You can even go a step further and add labelled value displays, using the right symbols/units for the sensor values:
This is more than just an IOT “hello world”. Running LEDs is. This little test is the core of a lot of interesting design and possibilities, and if you cna get this running there are many cool things you can explore.
Got ideas?
Make a comment below of what you’d like to create. I’d love to hear how this guide has helped you get started.
Paul Hoets is a freelance maker who lives in South Korea. If you liked this article and would like to contribute to his empire of dirt, silicon and tech. education, buy him a coffee!


4 responses to “Blynk, NodeMCU, and AHT10 sensor values”
[…] like the article I made on the BME280 and Blynk, this guide shows the same thing, except with a view to the BME280, a really nice sensor that can […]
Excelente… su publicación me fue muy útil Muchas gracias por compartir sus conocimientos.
muchas gracias. Estoy encantado de escuchar eso.^^
Si necesita alguna otra ayuda, avíseme y podría intentar hacer una guía al respecto.
Hello Paul, my name is Gustavo. I´m trying to implement this post ideia but I got confused with the wirings. It says that D1 goes to SCL and D2 to SDA but the drawing is different. Another issue is that my readings are just blowing up until NaN in the serial monitor running with the provided test code. My AHT10 sensor pins do not come with the terminals welded but only with an external connector which is fitted together with the module on the protoboard, do you think this might be the problem? I´d be very glad if you were able to help me with this or at least give me an idea what could be possibly going wrong. Thank you for your attention and congratulations for the website. Best Regards 😀