This is an interesting little exercise, basically the same as the pretty ubiquitous “Marco Polo Terminal” hello world that Blynk themselves provide on their Example Browser.
Really nice little tool, that. Its quite a satisfying thing to use, and I can’t think of how it could be made easier for coding, short of making it into Scratch.
Obviously, you need to first download the Blynk App on your phone, and register your email address to get the authentication code. I use the “Old/Legacy” app, but the same principles here should apply to the newer app. This said, I haven’t tried it, so I will not speak for what that journey entails.
Next up, add a new project, choose the right ESP8266 device (in our case “NodeMCU“), choose Dark as the theme, because only the cool programmers use dark themes. And add a choose a project name that makes you look clever and sophisticated.

You should get sent an email immediately at this point:

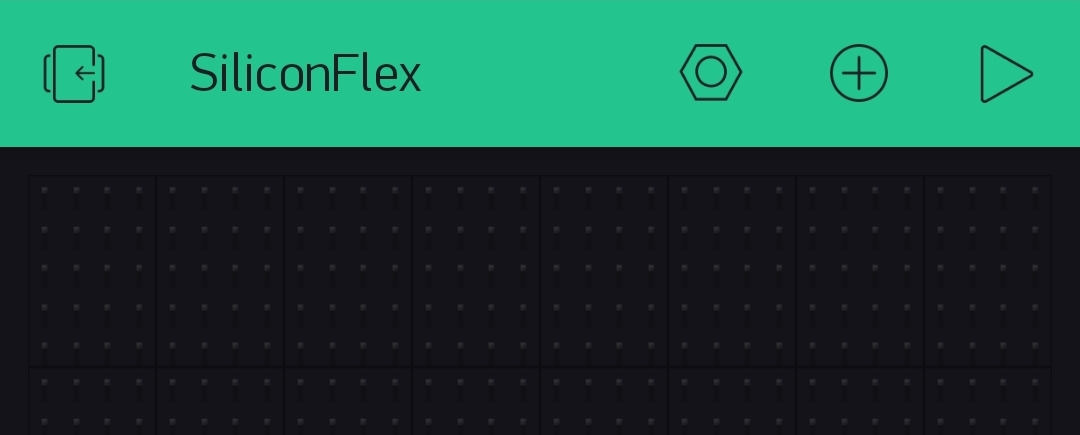
You’ll see your empty project, with the project name:
Next, open the widget browser, and add a Virtual Terminal:
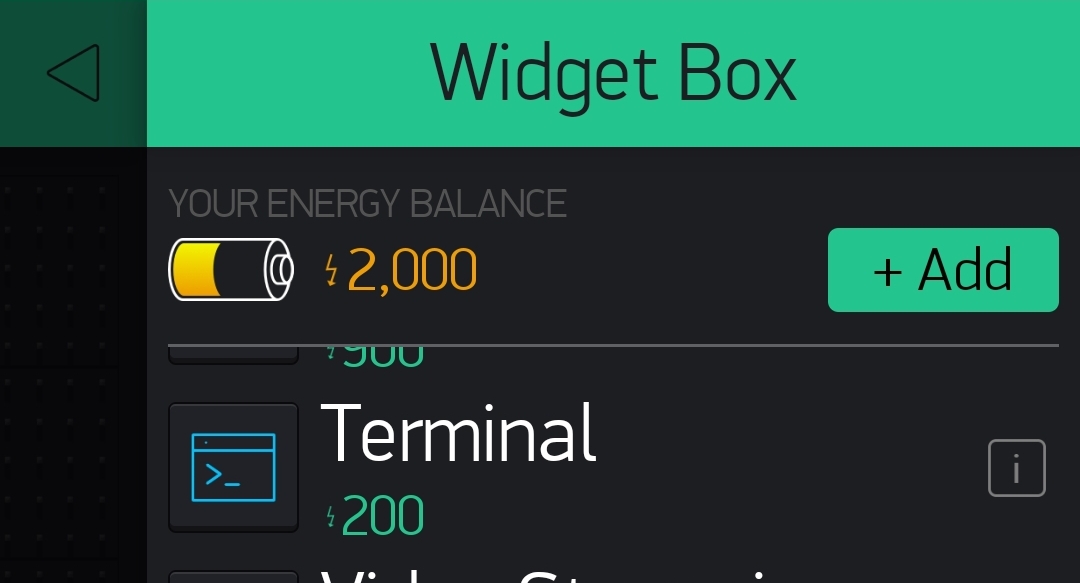

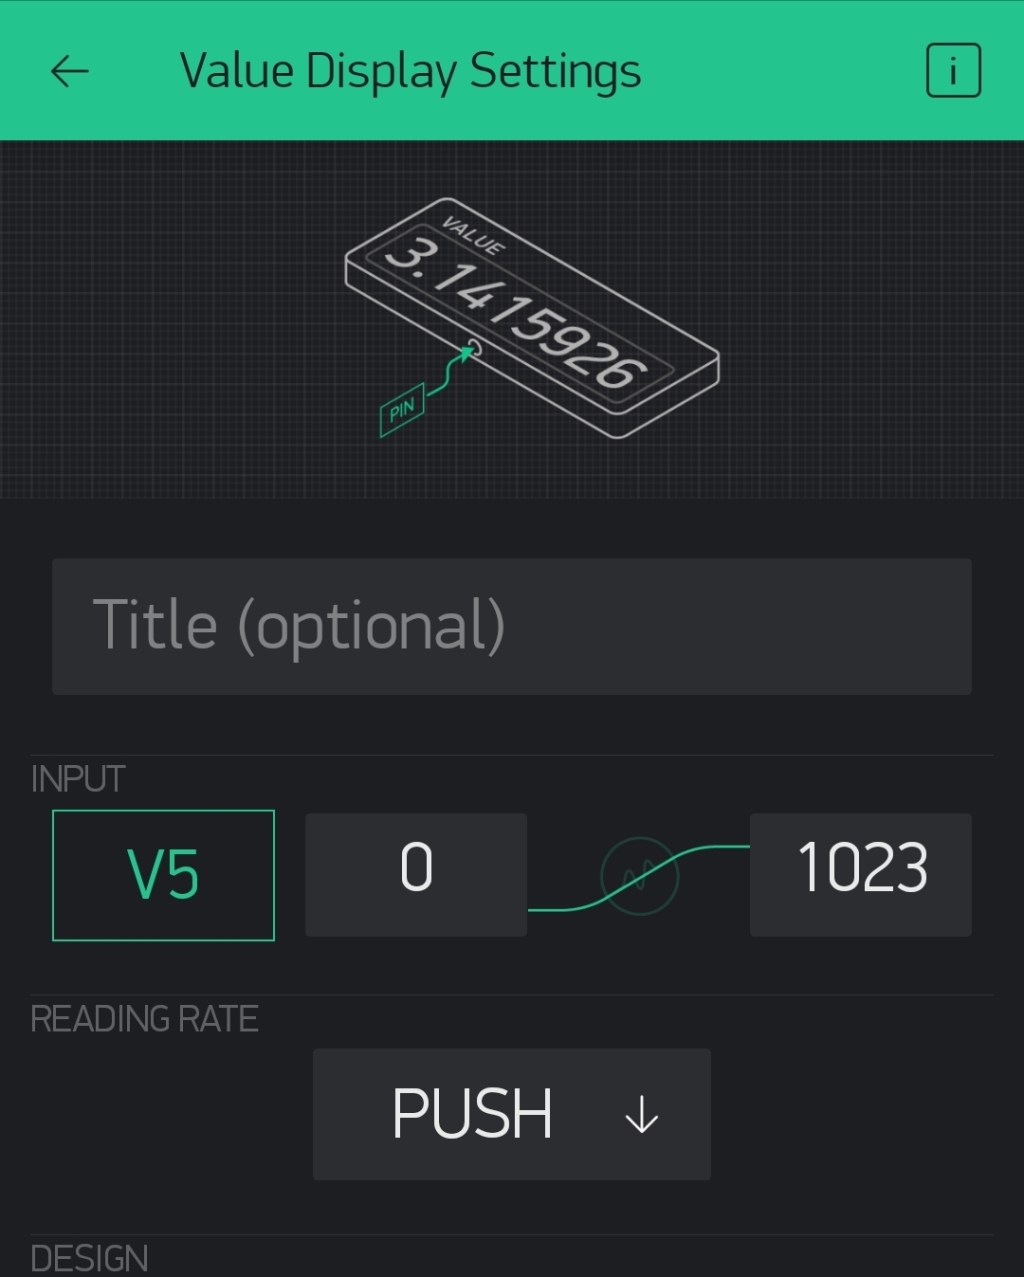
Press on the terminal to enter its settings, and change the target to V1:

#include <ESP8266WiFi.h>
#include <BlynkSimpleEsp8266.h>

char auth[] = "YourAuthToken";
char ssid[] = "YourNetworkName";
char pass[] = "YourPassword";

WidgetTerminal terminal(V1);

BLYNK_WRITE(V1)
{


  if (String("Marco") == param.asStr()) {
    terminal.println("Green Eggs") ;
    terminal.println("and Ham") ;
  } else {

    terminal.write(param.getBuffer(), param.getLength());
    terminal.println();
  }

  //Makes sure everything gets sent
  terminal.flush();
}

void setup()
{
  Serial.begin(9600);

  Blynk.begin(auth, ssid, pass);

  // Clear the terminal content
  terminal.clear();

  terminal.println(F("Type 'Green Eggs' and get a reply."));
  terminal.println(F("Type anything and get it echoed back."));
  terminal.flush();
}

void loop()
{
  Blynk.run();
}
That’s the easiest part. Now for the actual code, which will be loaded onto your ESP8266. You’ll need running wifi nearby (or generated via a tether on your smartphone). The that you see when searching for wifi is called the SSID. You’ll need to put three things into this code:
- Wifi SSID
- Wifi Password
- Authetication Code (the long code you recieved via email)
Put them into the following code in the three lines. Plug in your NodeMCU (if you haven’t installed the hardware library, run through this simple guide), check the COM port, and upload.
Paul Hoets is a freelance maker who lives in South Korea. If you liked this article and would like to contribute to his empire of dirt, silicon and tech. education, buy him a coffee!